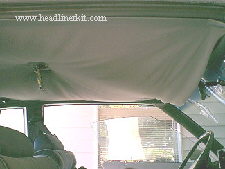
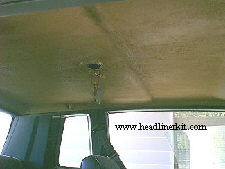
| Below is a Buick Regal in need of some help up top. I
replaced this headliner in 30 minutes and used only a phillips
head screwdriver, pliers, sheet, wisk broom, and a headliner kit.
This is the quickest and easiest way to replace a headliner and
still get professional results. There are four basic steps and
they will work for any automobile.If you have a tear, hole or
rip in your headliner cloth; you can also use the kit to replace
it...just glue over the other cloth. |
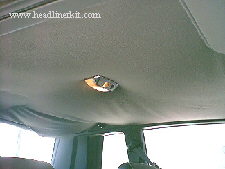 Remove the visors and anything else that may be attached through the headliner. |
 I removed the dome light; but it is not necessary. The material can be cut so as to tuck the excess under the light. (recommended to take it out) |
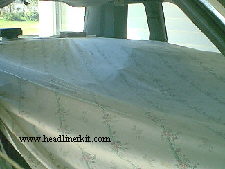 Place a sheet over the seats and anything else that you can cover. It can be held in place by anything that is heavy enough to hold a sheet. This keeps interior clean. |
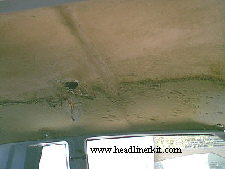 Remove the old cloth and scrape the board standing outside the car with a household brush (softbristled or grill brush). |
 When finished with the brush...use a wisk broom or something similiar to remove the dust that may be left on the board. |
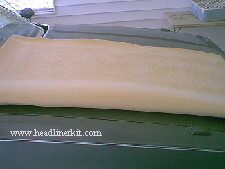 Fold the material in half..lay on hood if nothing else to lay it on and spray adhesive on it. Spray on headliner board also. |
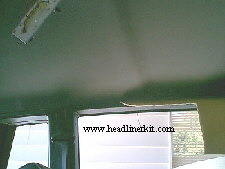 Glue the headliner up...half at a time and then trim and tuck excess under the trim. (leave about one inch when trim) |
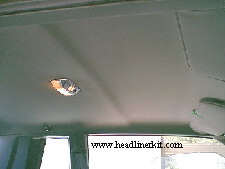 GOOD AS NEW!! |
| © 2007 WLS Headliners |