 |
 |
|
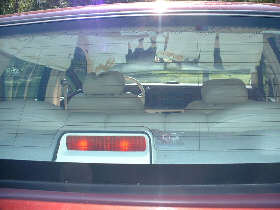
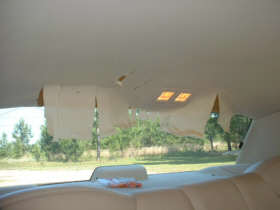
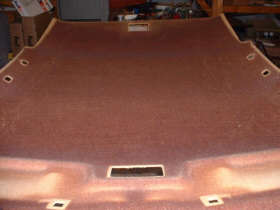
| The headliner in this Lincoln hadn't
fallen; but had sun damage in the rear. |
It can be seen good in this
picture. |
 |
 |
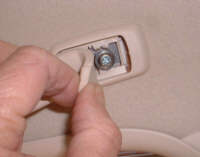
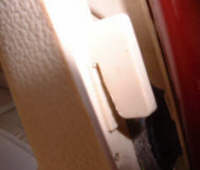
| The handles above the passenger
doors have screws behind the plastic cover that holds them in
place. |
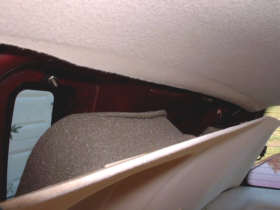
The rear panel has plastic plugs
that hold them in place; and also the rear top light pops out of place. |
 |
 |
| This is a pic of the front
windshield trim; it also has plastic plugs that can be pulled
out. |
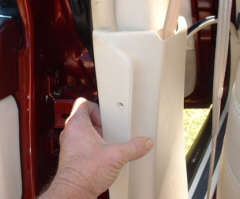
The trim on the door posts (between
the front and back door) should be taken loose so the top trim
can be removed or loosened. It has two screws at the top -- front
and back. |
 |
 |
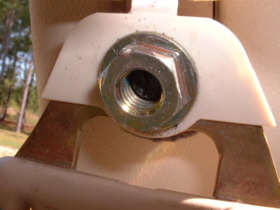
| Loosen the seat belt bracket bolt.
This seat belt bracket is adjustable up and down the door
post. |
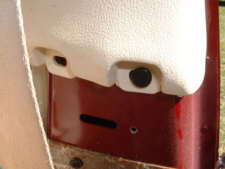
Remove the plastic plugs at the
bottom of the top door post trim (after the bottom trim is removed -- see above right) |
 | 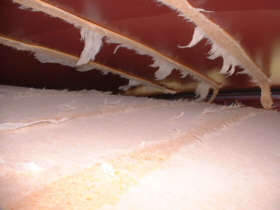 |
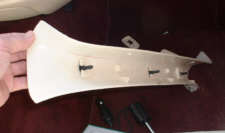
| The top trim is attached by the plugs in the previous picture and these fins which slide into the vehicle body and then is pushed down. After removing the plugs -- slide it up and it will be free; and the headliner board will come out from under it. | Here's the hard part; the boards in these are glued to the top. It has to be pulled loose; and at times it will look like the headliner board is going to rip in half; but remember these are well made and very strong. You may put a few dimples in it; but nothing that will effect the finished job. |
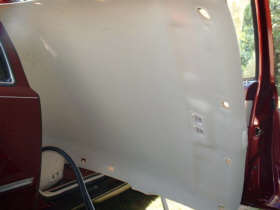 |  |
| Remove the headliner board; and this may also take some bending of the board; but as I said before -- these boards are very strong. | When the board is removed; clean it of all the old cloth and foam. |
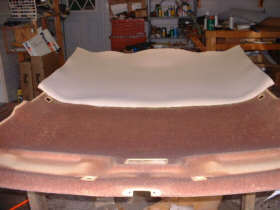 | 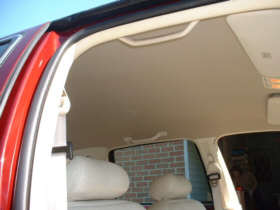 |
| And glue the new headliner material back to it; trimming excess cloth where needed. | And put it back in; the owner of this Lincoln picked a darker material than came originally; but you can still see that it looks much better. |