 |
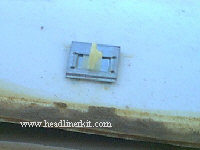 |
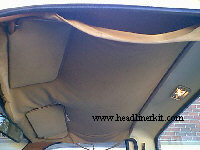
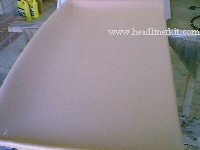
| STEP 1... remove the sunvisors from the S10 or S15 truck and slide the headliner board forward, kit should slip right out. There is a little piece of plastic trim that fits on a metal lip a few inches from the back glass of the truck, this holds the the headliner board in place at the rear. | This is a picture of the small plastic clips on the front of the headliner board of a Chevrolet S10 or GMC Sonoma truck. There are 3 of them at the front of the headliner board, at least one of them are usually already broken when you remove the headliner board (old age). Put the best one back in the middle of the board. |
 |
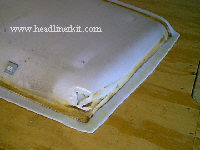 |
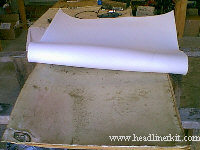
| STEP 2... once the headliner board is removed from the Chevrolet S10 or GMC Sonoma, clean it up with a wire grill brush (these board are made of styrofoam), lay the new headliner material in place and glue it down 1/2 at a time. When applying the material to the board, make sure to "rub it out good" with firm pressure with you hand held flatly on the material (rub out every square inch of it, this makes the headliner adhesive take hold). Make certain to use a good hi temp headliner adhesive like 3M or Dap, otherwise you'll be doing it again after a few hot days. | STEP 3... once the headliner board is covered, trim the headliner material leaving approx. 2 inches from edge of the headliner board, flip the board over and glue the extra to the backside of the headliner board. This trims off the headliner of the Chevrolet S10 or the GMC Sonoma truck headliners. |
 |
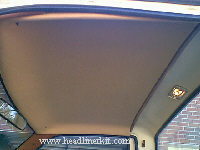 |
| STEP 4... once you get it all covered nicely, give it a little bit to dry and you are ready to install it back into the truck. | STEP 5... put it back in the way it came out and you should have a nice, neat, finished job like any professional could do. |
chevy s10 headiner installation instructions, gmc sonoma headiner repair guide